
Time : 12.09pm
Location : KL Tower, Kuala Lumpur
Location : KL Tower, Kuala Lumpur
Camera Model : Nikon D5000
F-stop : f/4.5
Exposure time : 1/640sec
ISO-speed : ISO-200
Exposure bias : -0.3 step
Focal Length : 50mm

Time : 11.07pm
Location : Pantai Tanjung Balau, Kota Tinggi
Camera Model : Nikon D90
F-stop : f/9
Exposure time : 1/800sec
ISO-speed : ISO-200
Exposure bias : +0.3 step
Focal Length : 32mm
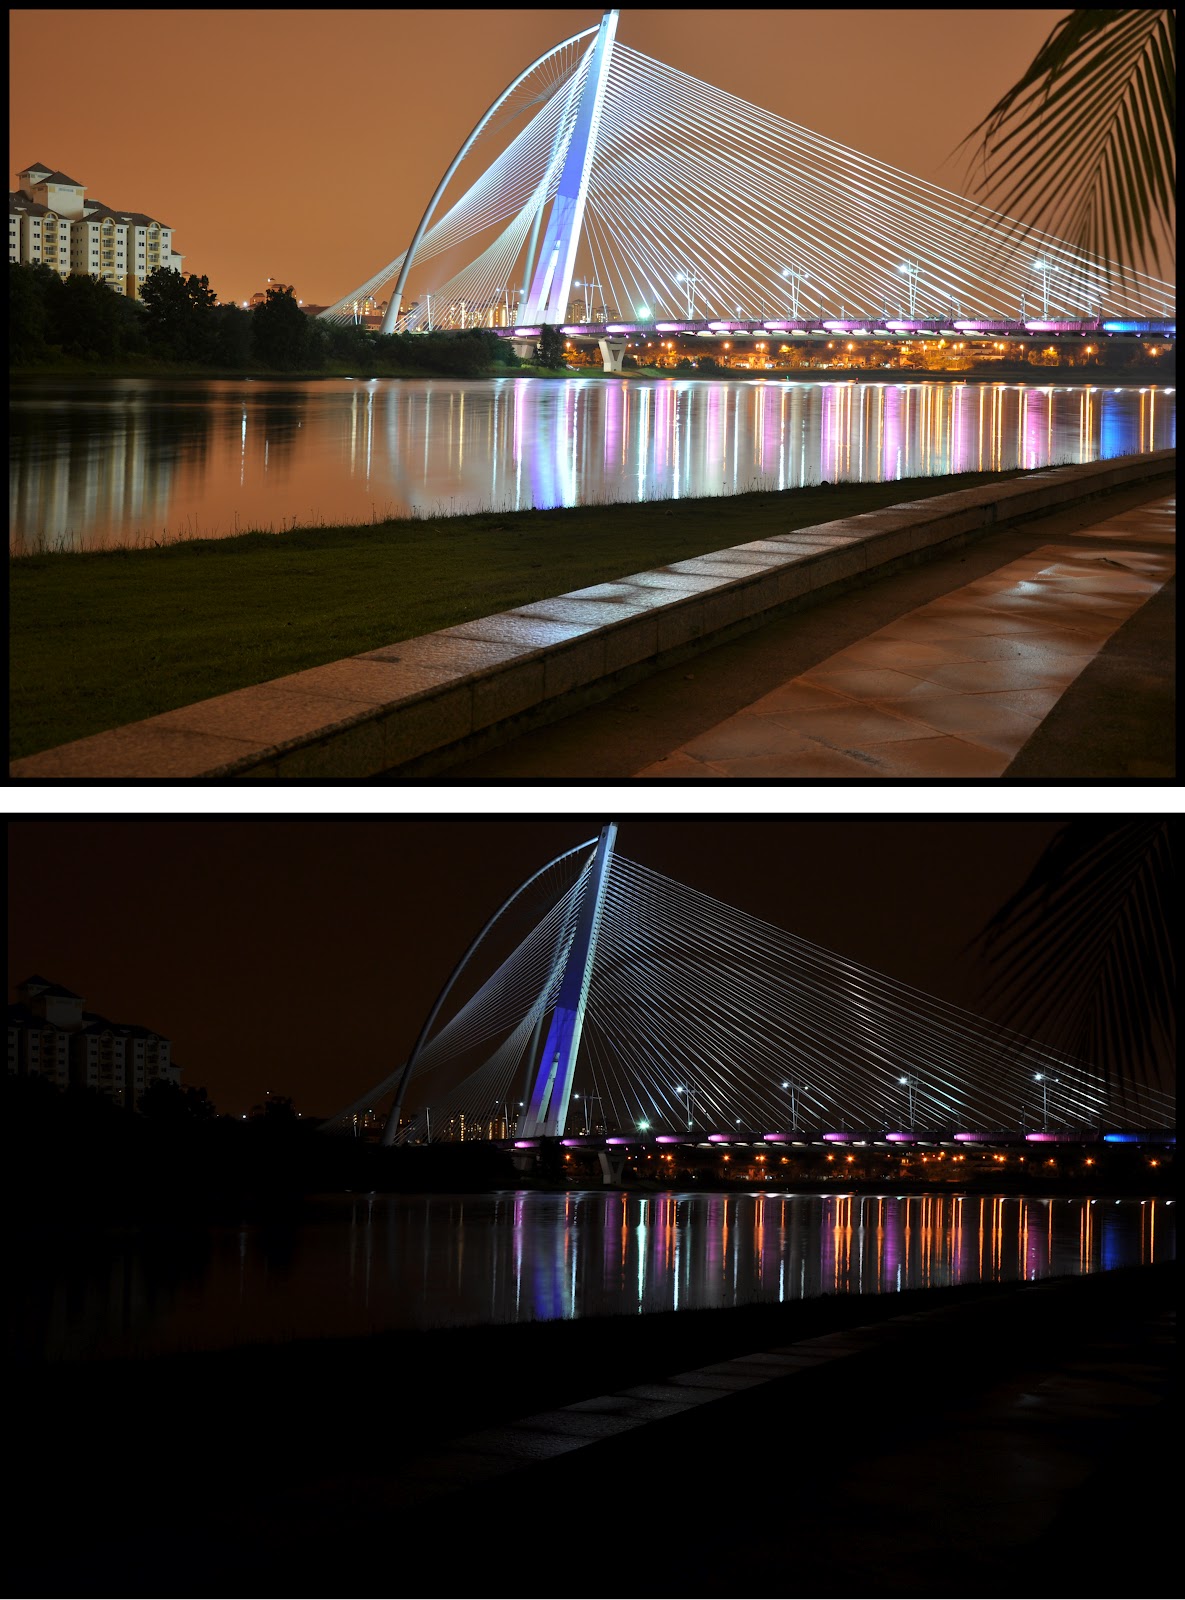
LANDSCAPE IMAGES

Time : 6.07pm
Location : Putrajaya, Kuala Lumpur
Camera Model : Nikon D90
F-stop : f/5.6
Exposure time : 1/60sec
ISO-speed : ISO-200
Exposure bias : 0 step
Focal Length : 105mm
Time : 12.28pm
Location : KL Tower, Kuala Lumpur
Camera Model : Nikon D5000
F-stop : f/4.5
Exposure time : 1/400sec
ISO-speed : ISO-200
Exposure bias : -0.3 step
Focal Length : 50mm

Time : 06.25pm
Location : Pantai Tanjung Balau, Kota Tinggi
Camera Model : Nikon D90
F-stop : f/4.5
Exposure time : 1/100sec
ISO-speed : ISO-200
Exposure bias : -5 step
Focal Length : 21mm

Time : 10.21pm
Location : Putrajaya, Kuala Lumpur
Camera Model : Nikon D90
F-stop : f/4
Exposure time : 8sec
ISO-speed : ISO-200
Exposure bias : 0 step
Focal Length : 28mm

Time : 10.58pm
Location : Pantai Tanjung Balau, Kota Tinggi
Camera Model : Nikon D90
F-stop : f/16
Exposure time : 1/125sec
ISO-speed : ISO-200
Exposure bias : +0.3 step
Focal Length : 105mm

Time : 11.24pm
Location : Pantai Tanjung Balau, Kota Tinggi
Camera Model : Nikon D90
F-stop : f/9
Exposure time : 1/500sec
ISO-speed : ISO-200
Exposure bias : +0.3 step
Focal Length : 105mm

Time : 11.27pm
Location : Pantai Tanjung Balau, Kota Tinggi
Camera Model : Nikon D90
F-stop : f/9
Exposure time : 1/500sec
ISO-speed : ISO-200
Exposure bias : +0.3 step
Focal Length : 85mm

Time : 11.28pm
Location : Pantai Tanjung Balau, Kota Tinggi
Camera Model : Nikon D90
F-stop : f/9
Exposure time : 1/500sec
ISO-speed : ISO-200
Exposure bias : +0.3 step
Focal Length : 105mm

Time : 07.25am
Location : Pantai Tanjung Balau, Kota Tinggi
Camera Model : Nikon D90
F-stop : f/16
Exposure time : 1/100sec
ISO-speed : ISO-800
Exposure bias : +0.7 step
Focal Length : 52mm

Time : 05.53pm
Location : Pantai Tanjung Balau, Kota Tinggi
Camera Model : Nikon D90
F-stop : f/5
Exposure time : 1/250sec
ISO-speed : ISO-200
Exposure bias : -5step
Focal Length : 25mm
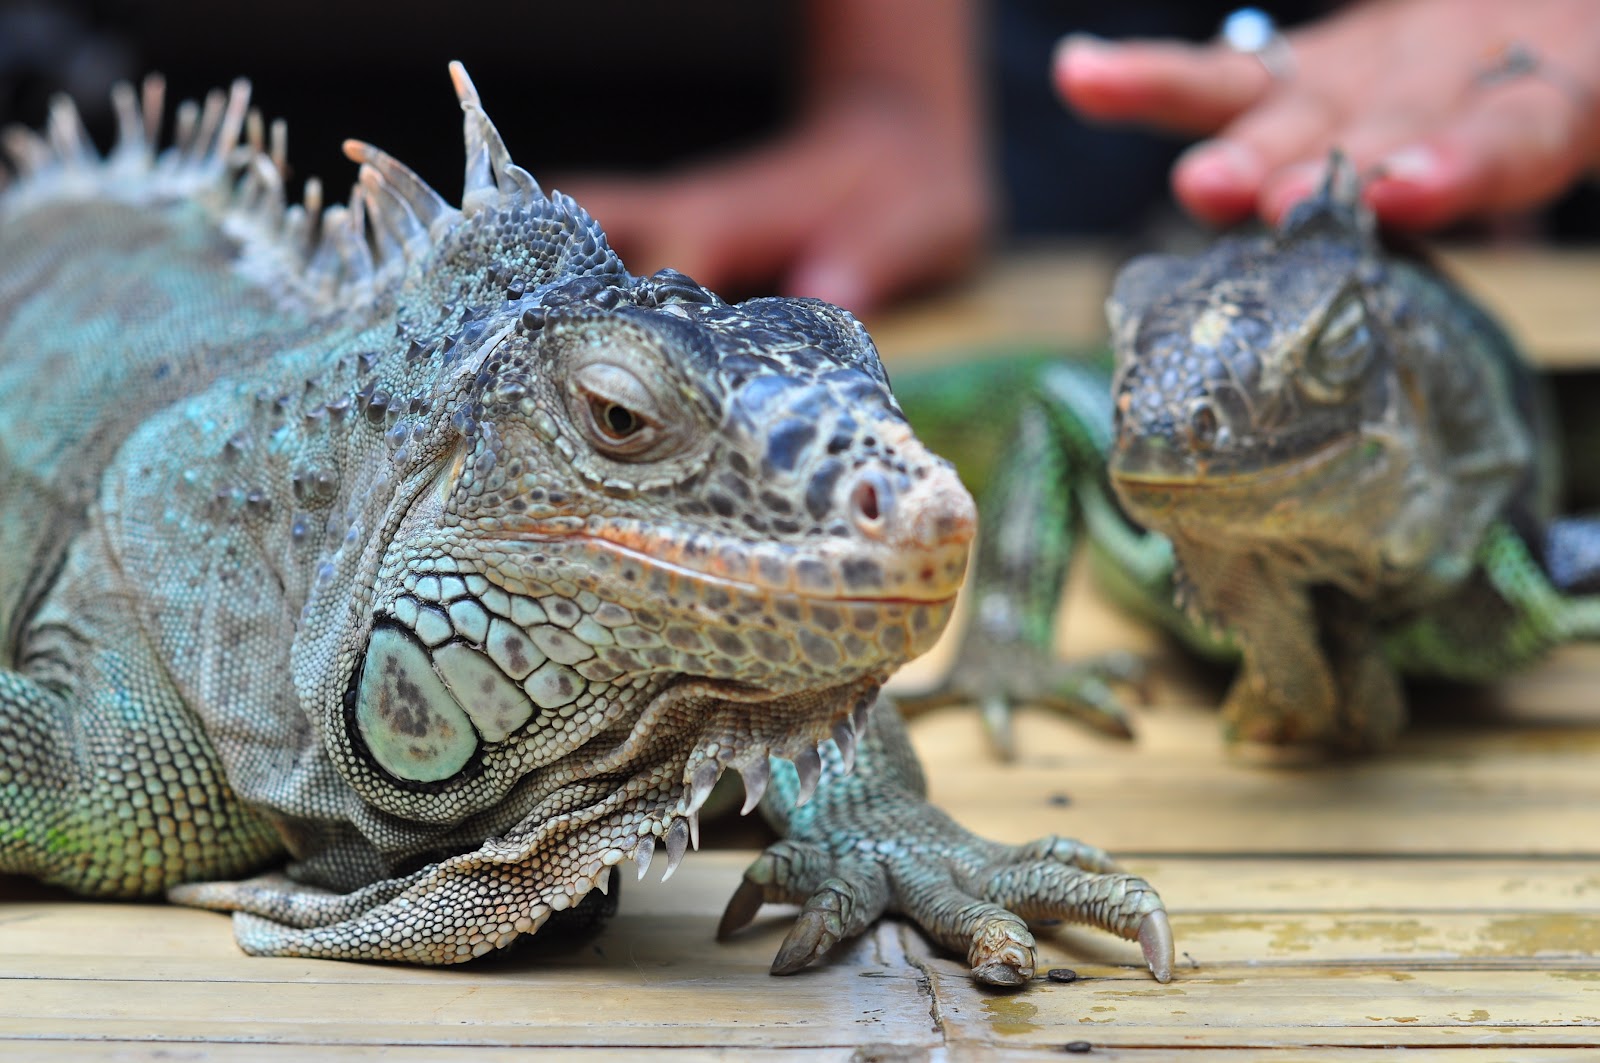
MACRO IMAGES

Time : 3.45pm
Location : Kuala Krai, Kelantan
Camera Model : Nikon D90
F-stop : f/5.6
Exposure time : 1/60sec
ISO-speed : ISO-200
Exposure bias : 0 step
Focal Length : 105mm
White Balance : Manual

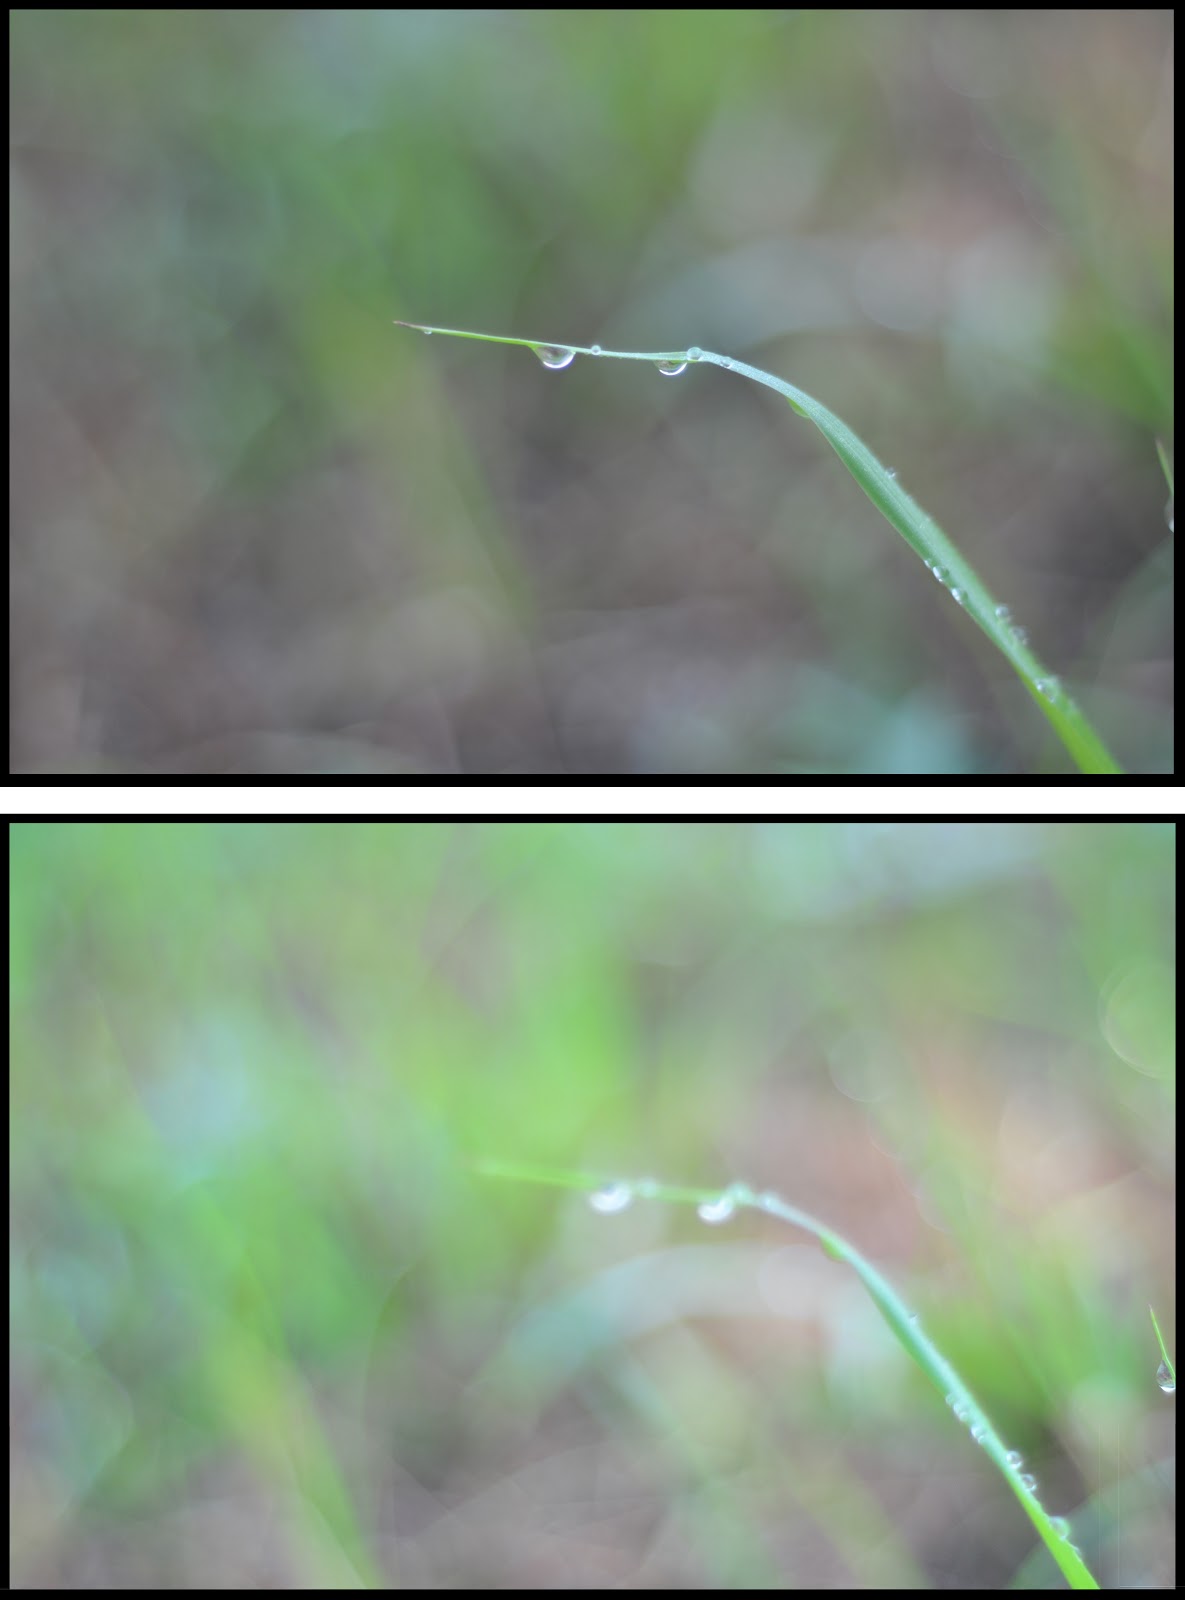
Time : 6.11pm
Location : Putrajaya, Kuala Lumpur
Camera Model : Nikon D90
F-stop : f/5.6
Exposure time : 1/125sec
ISO-speed : ISO-320
Exposure bias : 0 step
Focal Length : 105mm
White Balance : Manual


